

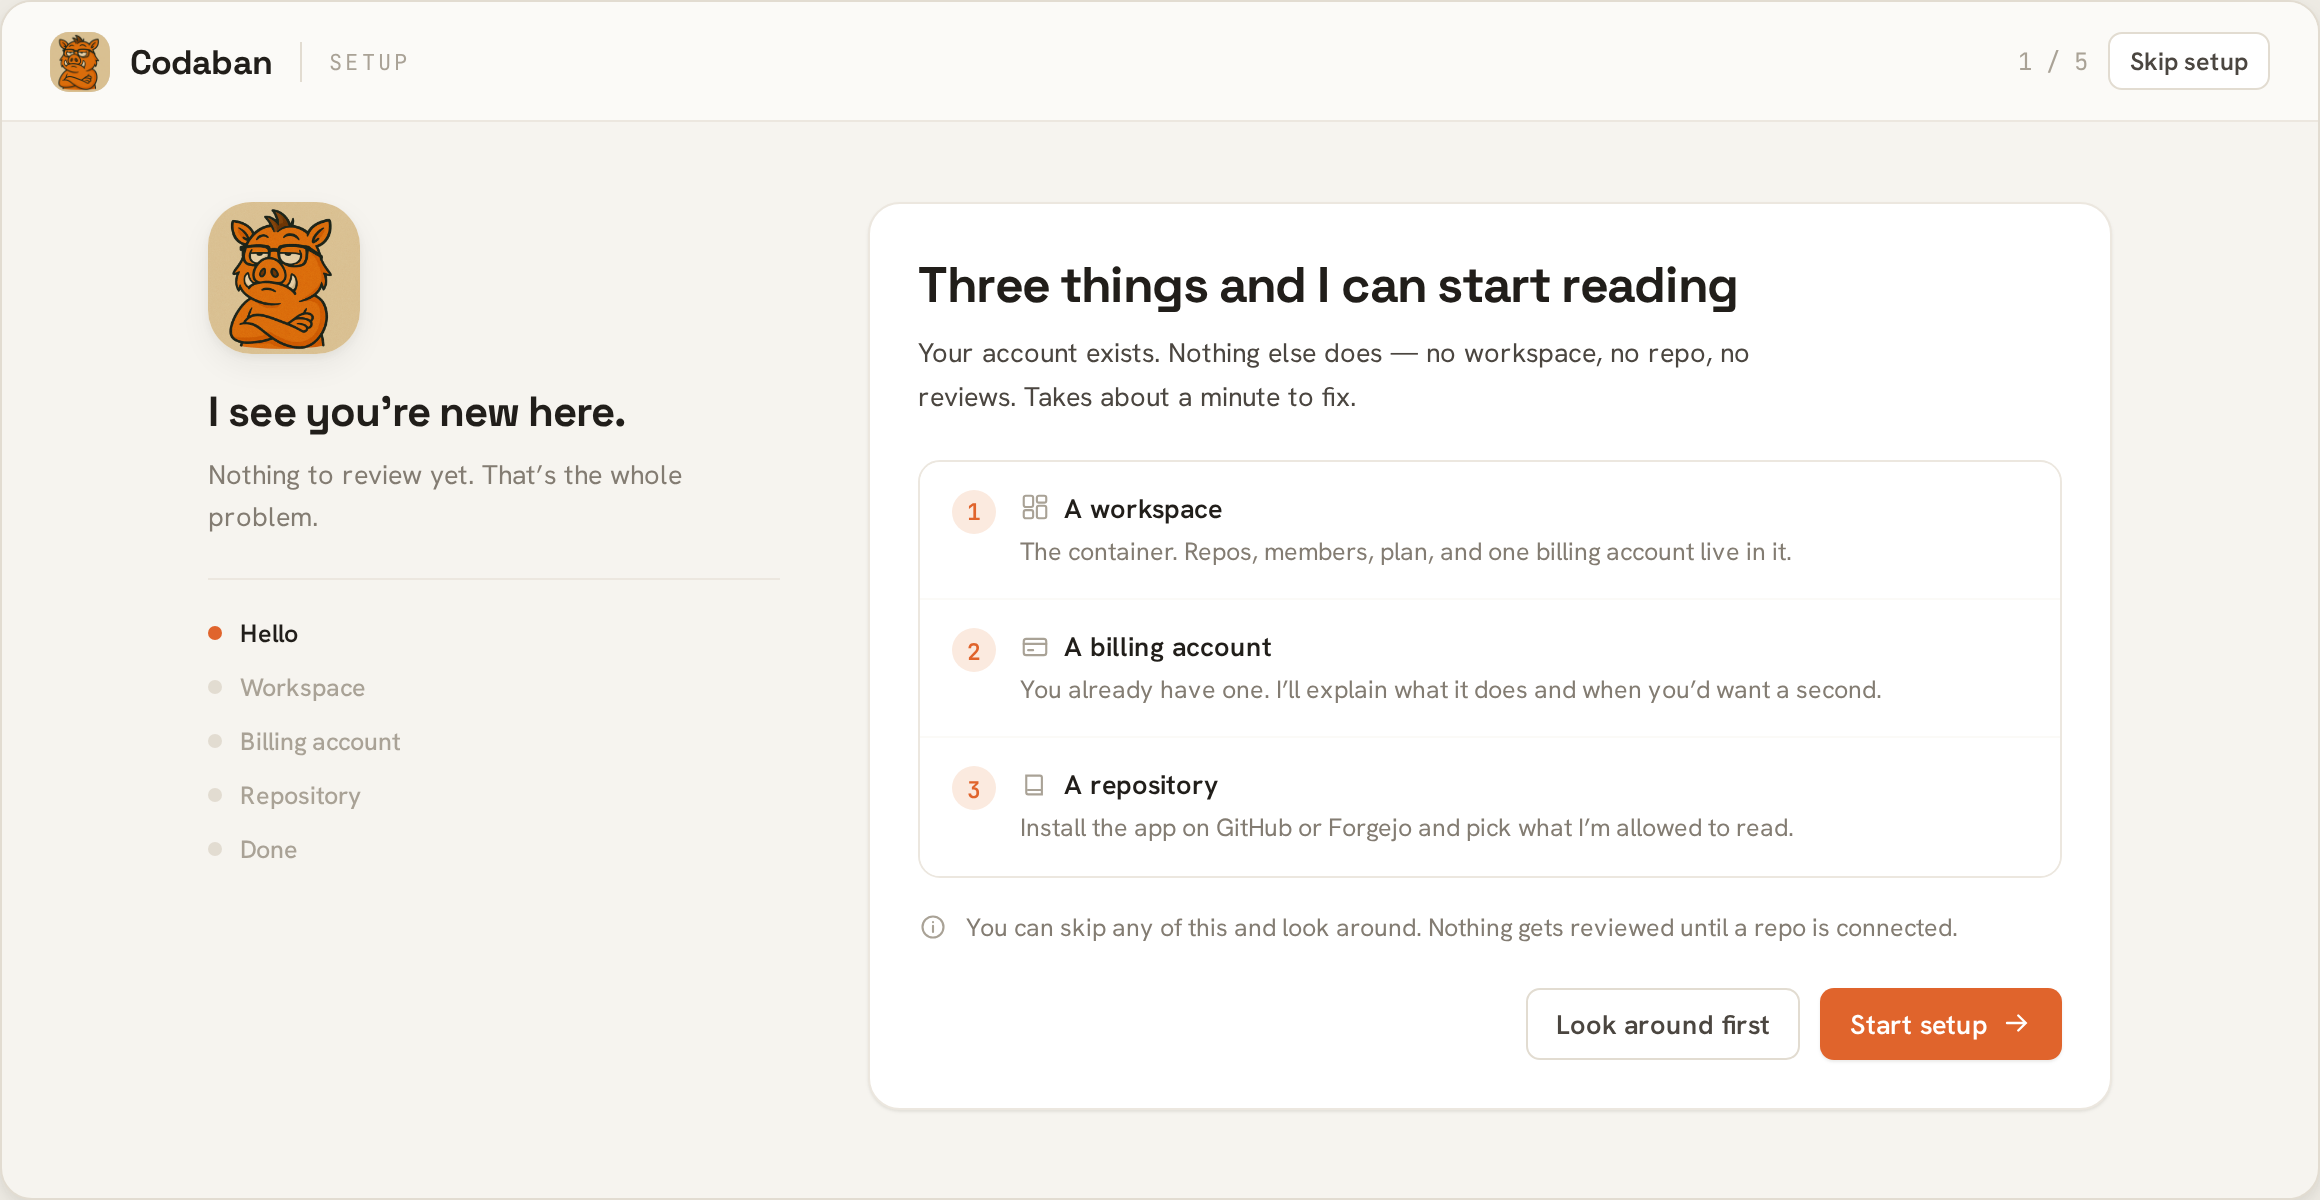
Guided setup, step 1 of 5.
The five screens
What each thing is
A workspace is the container: repositories, members and their roles, and exactly one billing account. Everything Codaban does happens inside one. A billing account is how a person pays — never per-seat, never per-workspace. You already have one — it was created with your login, and it is the default for every workspace you make. One account can fund many workspaces. A workspace bills to exactly one. Create more when someone else pays — a client, an employer, a separate cost centre. Your first account comes with 10 free reviews. A one-time grant, not a monthly allowance. When they’re gone Codaban stops rather than surprising you, and you pick a plan. Plans are priced on the work Codaban does — not on how many repositories you connect or how many people you add. Unlimited seats, unlimited repos, on every plan. See Plans and billing. A repository is what Codaban actually reads. Installing the app only grants access. A repo starts costing units when you assign it to a workspace.Nothing of yours gets read until you hand me a repo. I’m not going looking.
GitHub is self-serve: the setup sends you to GitHub to install the app, and
GitHub sends you straight back to a list of your repositories to choose from.
Change the selection on GitHub later and you land back on that same list.
GitLab isn’t supported yet.Self-hosted Forgejo or Gitea is not part of this flow — it needs a bot
account and an access token, which is a one-time setup step rather than a
click. Set it up from Integrations — the guide explains
why it works that way. Once connected, its repositories show up in this picker
like any other forge’s.
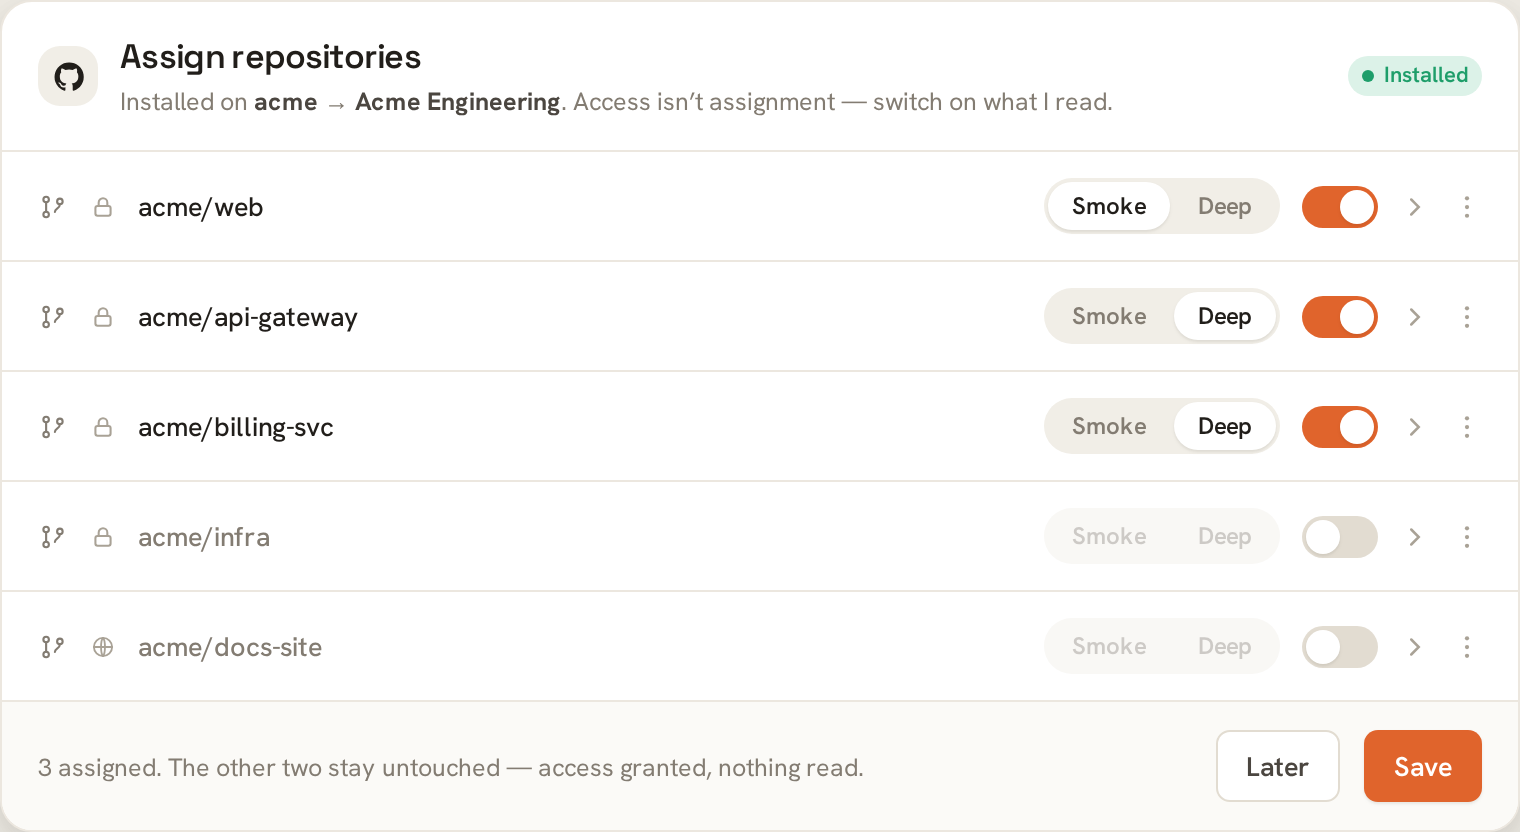
The repository picker — where access becomes assignment.
After setup
- Automatic review is on, in deep mode: every new pull request gets read. The mode is per-repo — Smoke for a fast diff pass, Deep when the repo deserves it. Change it in the workspace’s auto-review settings.
- Or ask explicitly in a comment:
@codaban reviewfor a pass on the current diff,@codaban handleto take an issue from a plan to an open PR. See Commands. - Nothing spends on its own beyond the auto-review you just enabled, and every unit is metered against your billing account.